
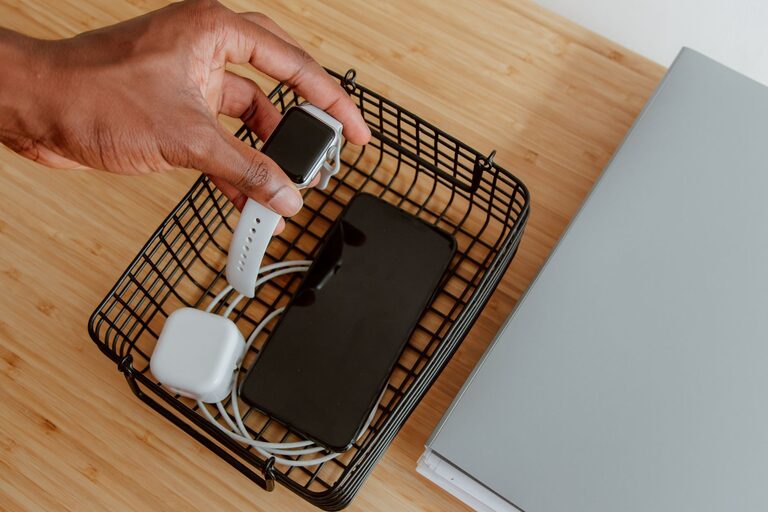
Setting up a dedicated charging station for your devices can simplify your daily routine and help keep your space neat. With the growing number of gadgets we use — from smartphones to tablets, wireless headphones to smartwatches — having a centralized charging area is both practical and efficient. This guide will walk you through the key steps to create a functional and safe charging station at home.
Why Create a Charging Station?
Before diving into the setup process, it’s worthwhile to understand the benefits of a charging station:
– Organization: Avoid tangled cords and misplaced chargers.
– Efficiency: Charge multiple devices at once from a single spot.
– Safety: Reduce the risk of overheating by using proper equipment.
– Convenience: Have your devices fully charged and ready to use anytime.
What You Need for a Charging Station
Gathering the right materials and tools is essential. Here’s a list of common items you might need:
– Power strip with surge protection
– USB charging hub or multi-port charger
– Cable organizers (clips, ties, or sleeves)
– A small shelf, box, or drawer to contain the station
– Non-slip mats or pads
– Labels or tags (optional)
– Clean cloth for dusting and wiping
Step 1: Choose the Right Location
Select a spot in your home that is:
– Close to an electrical outlet
– Well-ventilated to avoid overheating
– Easily accessible for daily use
– Free from moisture or direct sunlight
Common locations include a desk, kitchen counter, nightstand, or a dedicated shelf.
Step 2: Select Your Charging Equipment
Depending on the number and types of devices you have, choose:
– Power strips: Look for one with surge protection and enough outlets.
– USB charging hub: If many devices charge via USB, a multi-port charger simplifies connections.
– Wireless chargers: For compatible devices, these reduce cord clutter.
Make sure the chargers and cables support your devices’ power requirements to ensure safe and efficient charging.
Step 3: Organize Cables and Chargers
Cable management helps reduce mess and prevents damage.
– Use cable clips or ties to bundle long cords neatly.
– Label cables if multiple chargers look similar.
– Position chargers so cords don’t get tangled.
– Consider using cable sleeves or tubing to group cables together.
Step 4: Set Up the Charging Station
Depending on your chosen location and equipment:
– Place the power strip or USB hub on or inside your charging station container.
– Arrange devices with easy access, such as using stands for phones or tablets.
– Use non-slip mats to keep devices stable.
– Keep a small cleaning cloth nearby to wipe dust off devices and cables.
Step 5: Maintain Safety Practices
To keep your charging station safe:
– Avoid overloading power strips; check their maximum wattage.
– Do not place devices on soft surfaces that can block ventilation.
– Replace damaged cables immediately.
– Unplug the charging station if you will be away for long periods.
Additional Tips for a Better Charging Station
– Add storage: Use drawers or small organizers to store extra cables and chargers.
– Incorporate lighting: LED strips or small lamps can make the station easier to use at night.
– Customize: Paint or decorate the station’s container to match your room decor.
– Portable option: Consider a charging organizer bag if you travel frequently.
Conclusion
Setting up a charging station is a straightforward way to keep your devices powered and your space organized. With a few simple steps, you can create a neat, efficient area dedicated to charging all your devices safely. Whether you have a few gadgets or many, a well-planned charging station will simplify your routine and reduce clutter. Give it a try and enjoy the convenience of a tidy, powered-up home!
About the Author